How to Add and Adjust Discounts
How to Add and Adjust Vendor Discounts
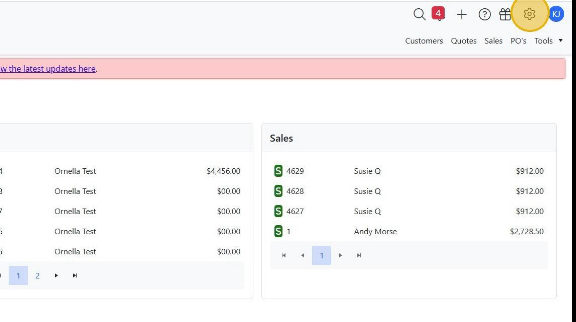
- Click the Gear icon
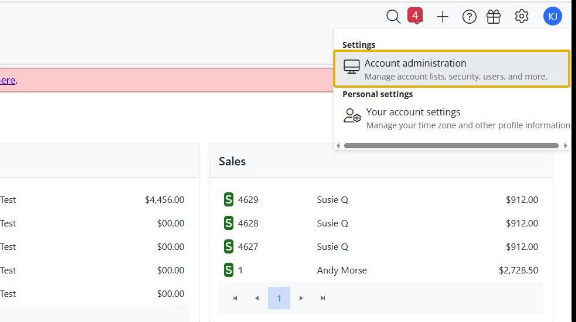
- Click "Account Administration" from the dropdown menu
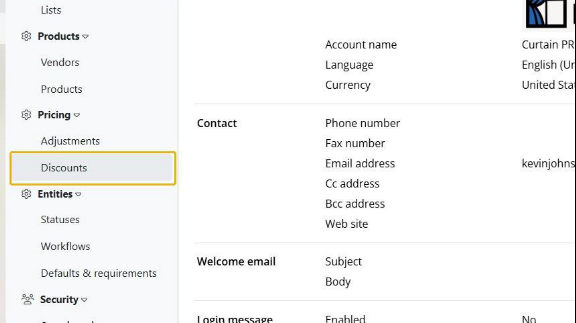
- Navigate to the menu on the left of the screen and select "Discounts"
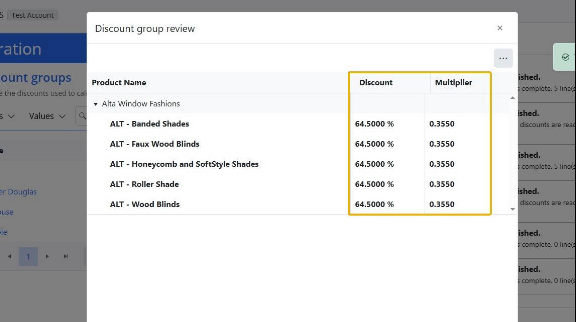
- Navigate to the discount group you would like to adjust and click the name
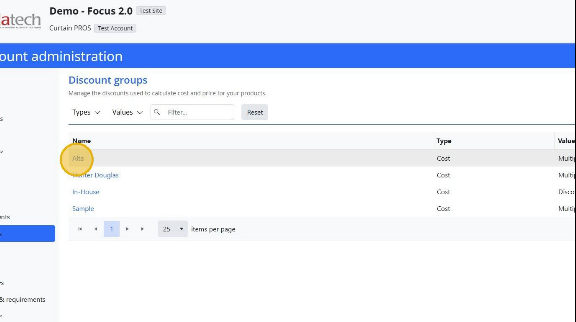
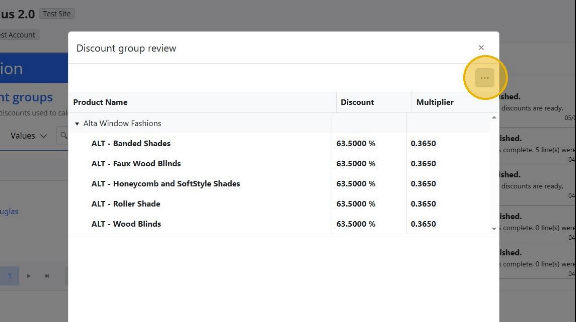
- In the “Discount group review” window, click the 3 dots
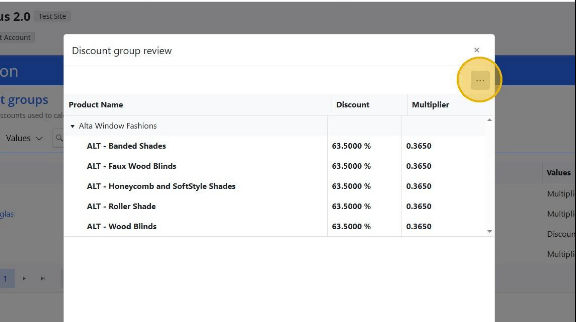
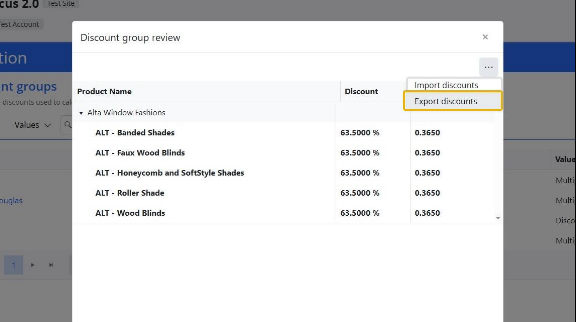
- Click "Export Discounts"
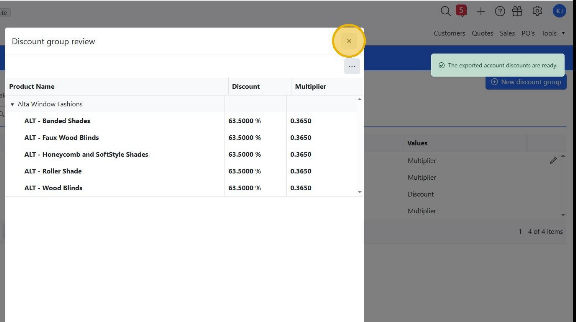
- A Pop-Up Will Appear Letting You Know the Download was Successful and the File is Ready
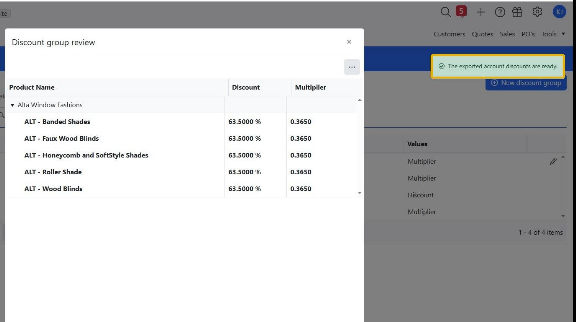
- Close the “Discount group review” window.
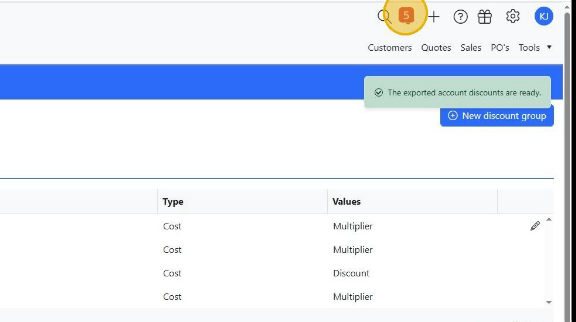
- Click the Notifications icon
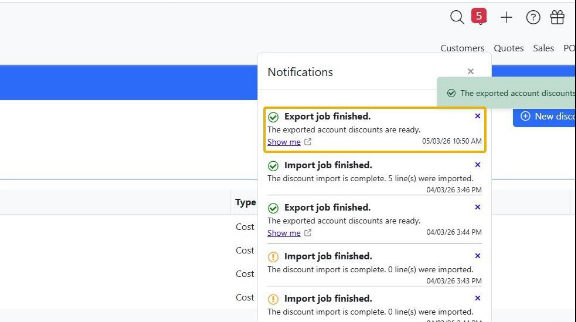
- Navigate to your discounts export and click "Show me"
Note: The most recent activity will appear at the top of the notifications list
- Open the File in Excel or Google Sheets
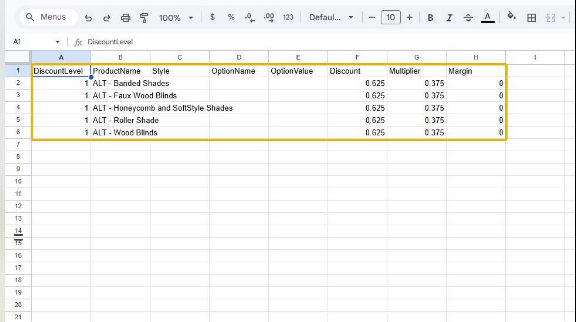
- Update the "Discount" column
Note: If you vendor discount is 64.5%, then your entry should be 0.645
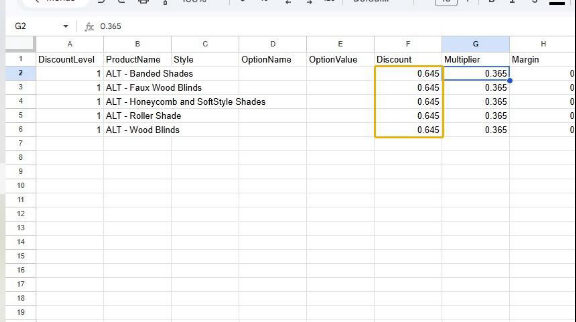
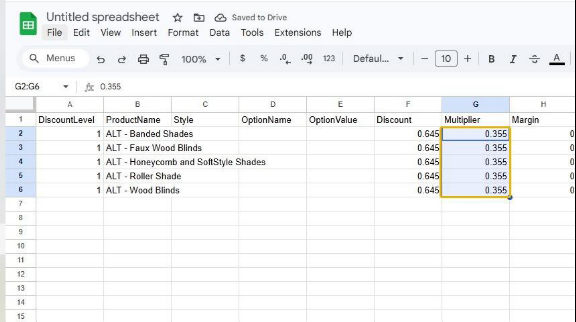
- Update the "Multiplier" column
Note: your multiplier is the same as your cost factor
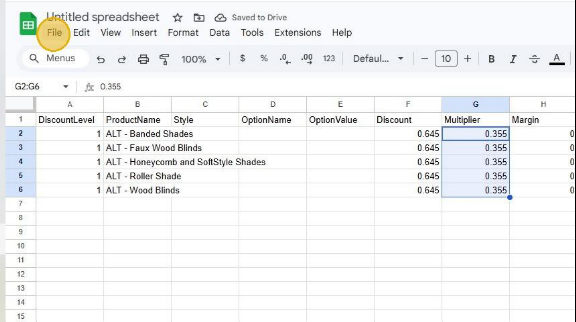
- Click "File"
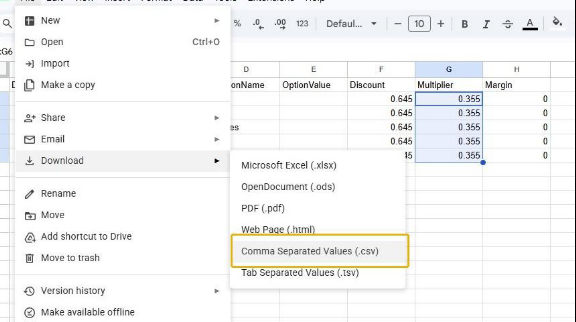
- Download or Save the File as a "Comma Separated Values (.csv)"
- Return to your software tab and click the 3 dots
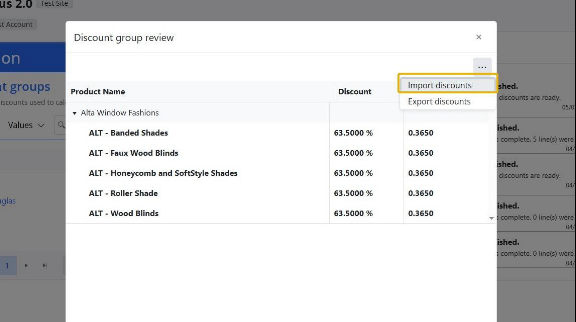
- Click "Import Discounts"
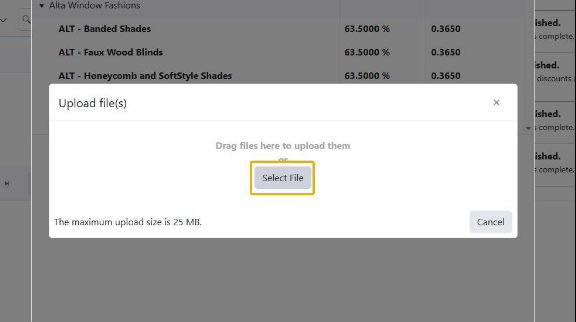
- Click "Select File" then select the updated CSV discounts file that you just saved
Note: you can also drag and drop the file directly into the box
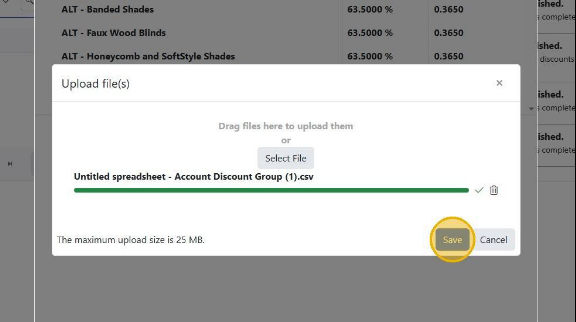
- Click "Save"
- Discounts will be automatically updated in the system
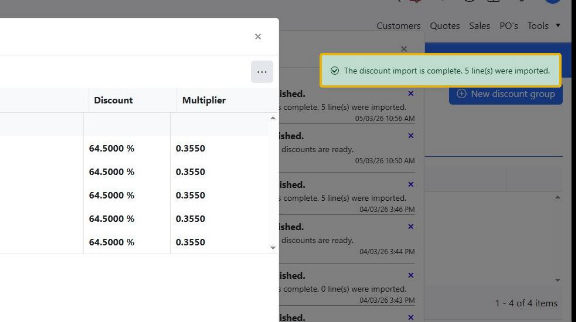
- You will also receive a pop-up confirmation that the discount import was completed