Managing Discount Groups using the NEW Inline Discounts module.
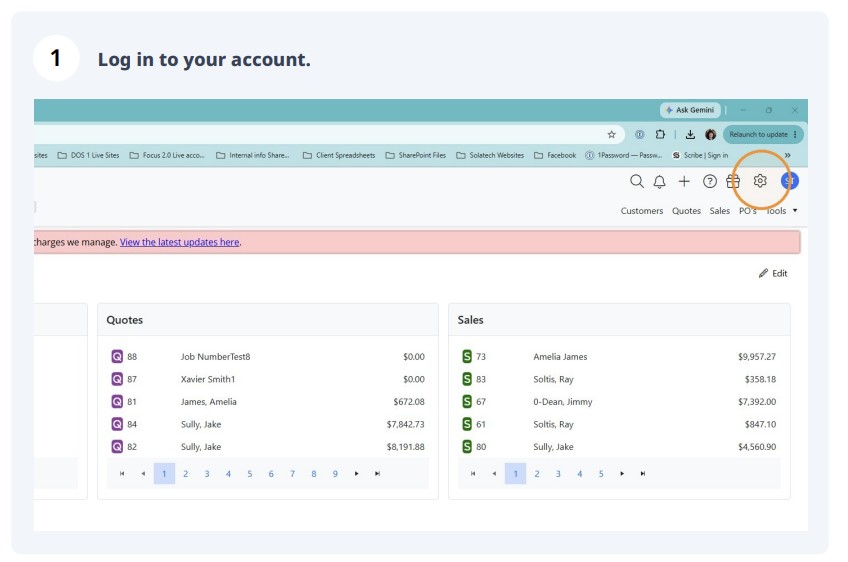
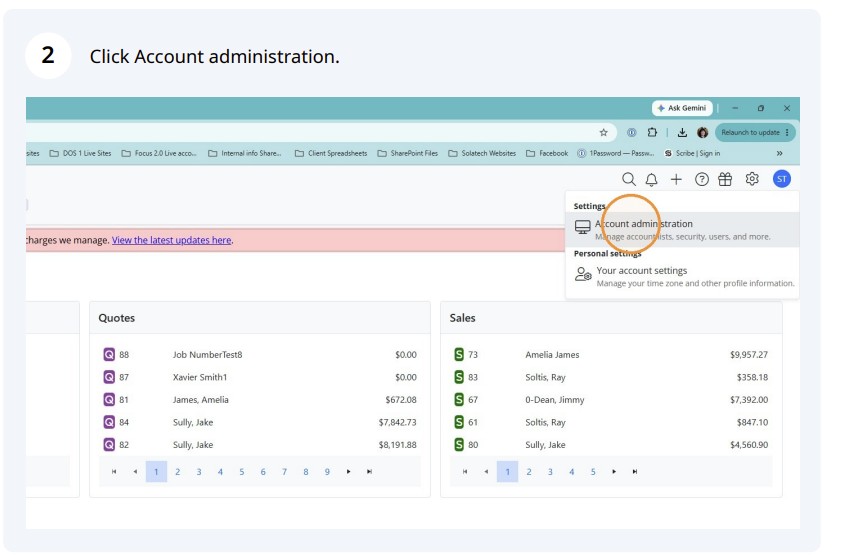
- Log in to your account, click the Gear icon and choose Account Administration.
- Click "Discounts" in the left column.
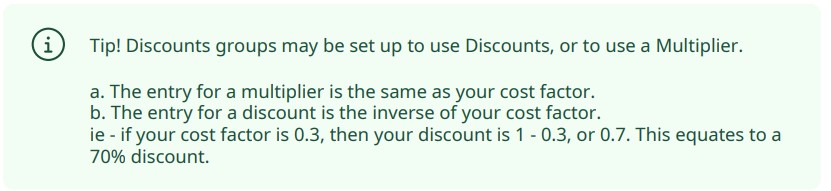
- Discount groups may be set up as a Discount or a Multiplier.
- The entry for a multiplier is the same as your cost factor.
- The entry for a discount is the inverse of your cost factor.
- IF your cost factor is 0.3, then your discount is 1-0.3, or 0.7
NOTE: Always enter these as decimals and not percentages.
i.e. - enter 0.7 and NOT 70%
Vendor Discount Setup with "Discounts"
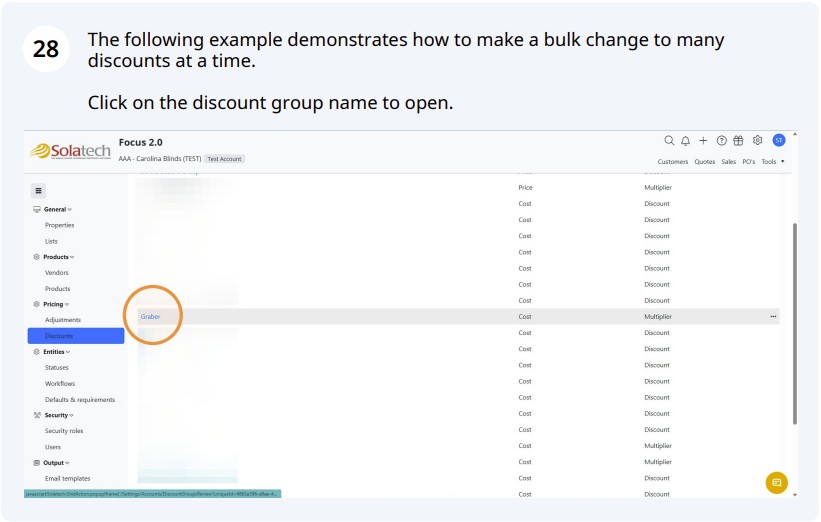
- Select the Discount group from the list to begin editing.
- Your discounts will have been brought over from the former discount format.
To edit a discount, click the pencil to the right of the discount you would like to edit.
- To add a NEW discount, click "Add discount".

- Select the vendor from the drop down list.


Select the product you would like to add from the Product drop down list.
Note - The small double right arrows to the left of each product name indicate which products are not currently in your discount list. Once a product has been added, those arrows no longer show.


- Most discounts are at the product level, meaning the whole product receives the same vendor discount. For this reason, the Style, Option name and Option value fields can be skipped.
Enter the vendor discount into the Discount field, in decimal format.

- Click "Save".

- Repeat these steps to add multiple products to your discount list.

- Close the details view to return to the Discount groups list.

Vendor Discount group setup with "Multipliers"
Remember, vendor discounts can be set up as a discount or a multiplier, based on preference. The next example shows a discount group that uses multipliers.
Option level discounts are also shown in the following example.
Click the vendor name you would like to edit.
The Following illustrations are being used as examples only. The product shown - Norman Woodlore Plus Shutters - is not normally set up at the Lead Time option.
When multipliers or discounts are set up at the style or option level, the product and styles will be expandable to view the discounts at the appropriate level.
In this example, the Norman Shutter has been set up at the Option level "Lead Time".
You can see here that the style "Standard Shutter" has been completed, but the "Track System" style has not.
We need to add a new discount for the Woodlore Plus Shutter product, Track System style.
- Click "Add discount".

- Select "Norman Window Fashions (PDF)" from the Vendor dropdown.


- Select "NOR - Woodlore Plus Shutters" from the Product dropdown.


- Select "Track System" as the Style.


- Select "Lead Time" as the Option name.


- We already have the Option value "Standard" entered in our discounts, so we need to add the other value for that option.
Type "Express" in the Option value field.
**Remember that the Option value MUST be entered EXACTLY as it is in the product, or it will not bring in the correct discount/multiplier.

- Enter the correct multiplier into the Multiplier field.

- Click "Save".

- Since this product is set up at the option level, we must repeat this process for each of the styles in the product.
You will repeat the above steps to add the rest of the styles for this product.